
- Give it 5–7 brews. Your first cup isn't a fair test of a new moka pot.
- Rinse it, then pour out the first 3 brews. No seasoning ritual is needed, and your best beans can wait.
- Use low-to-medium heat and a medium-fine grind, and never tamp. Change one thing at a time as you dial it in.
- Keep it clean. Breaking in a moka pot never means leaving old coffee oils inside. Skip the dishwasher for aluminum pots.
- Don't expect espresso. Judge it by what's in the cup: rich, balanced, with good body.
You just bought a new moka pot, made your first coffee... and it wasn't very good.
Maybe it tasted a little metallic. Maybe it was too bitter. Maybe the coffee came out much faster than you expected. Or maybe you followed the instructions exactly and just wondered what all the fuss was about.
Before you give up on it, give it a few more brews.
At GROSCHE, we've been making and brewing with moka pots for more than 15 years, and we hear this from first-time owners all the time. It's natural to expect the very first brew to be perfect. With a new moka pot, that's not always realistic.
Quick answer: Plan on 5–7 brews to break in a new moka pot. Rinse it before first use, brew normally and discard the first 3 cups, then use brews 4–7 to dial in your heat and grind. No special seasoning ritual needed.
First, Don't Overthink It
There are all kinds of moka pot "seasoning" rituals on the internet. You don't need one.
When you begin to break in a new moka pot, it comes down to two things:
Preparing the pot. This happens naturally as it goes through its first brewing cycles.
Learning how to brew with it. This part happens to you.
You're learning how quickly this particular pot heats up, how your stove affects it, what the coffee should look like as it flows, where your grinder should be set and when to take it off the heat. Both take a little time.
Before Brew #1: Get to Know Your Moka Pot
Before it goes on the stove, take it apart. You'll find a few simple parts:
The lower water chamber
The funnel-shaped coffee basket
The upper chamber, where brewed coffee collects
The filter plate
The gasket
The safety valve on the lower chamber

Take a minute to see how everything fits together. Check that the filter is seated properly, the gasket is sitting correctly and the safety valve is clear.
Then rinse every part thoroughly with warm water to remove any dust or residue from manufacturing and packaging. Let everything drain, and you're ready to brew.
Brews #1–3: Your Practice Brews
For your first few brews, don't reach for your most expensive coffee. Use a decent coffee you don't mind pouring out.
Prepare the moka pot as usual:
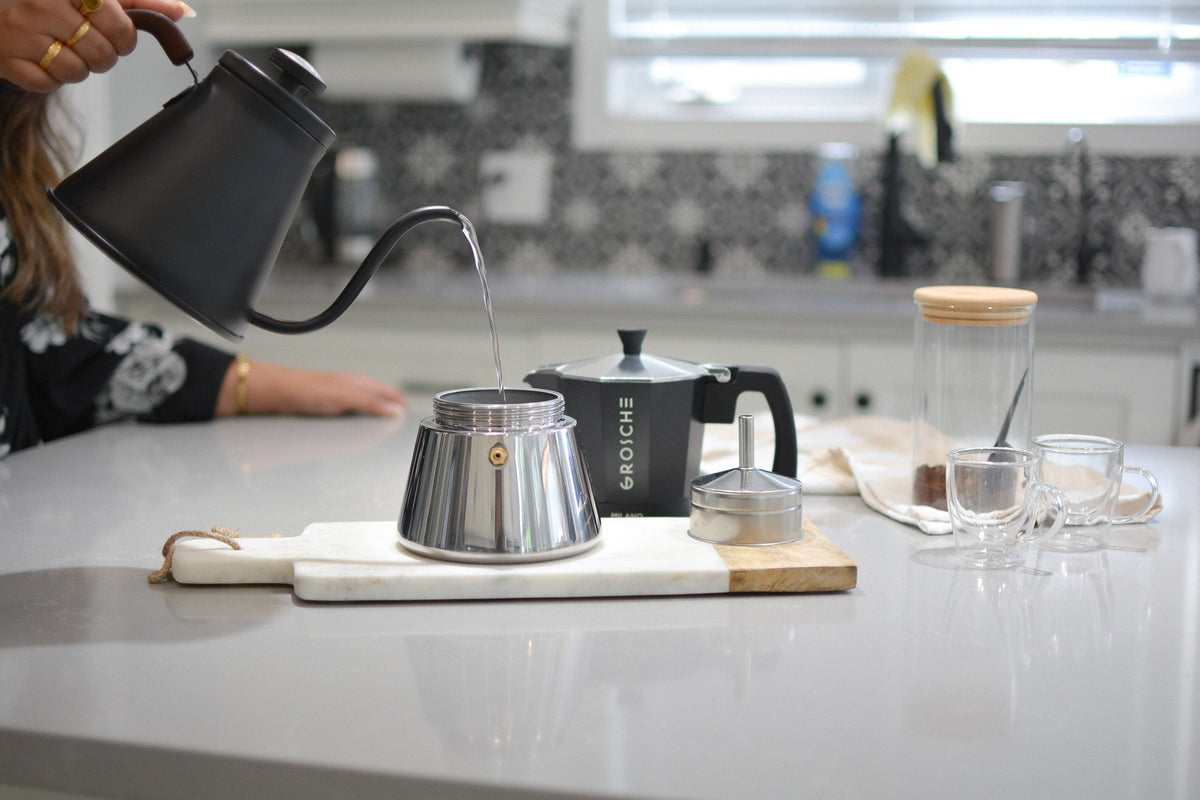
Fill the lower chamber with fresh water to just below the safety valve. Never cover the safety valve with water.
Place the funnel basket in the lower chamber and fill it with medium-fine ground coffee.
Level the coffee across the top. Don't tamp it.
Screw the upper and lower chambers together securely.
Place the pot over low-to-medium heat.

Now pay attention. You're not just making coffee. You're learning your new moka pot.
Watch the coffee come out
When enough pressure builds in the lower chamber, coffee starts flowing from the centre column into the upper chamber. You want a fairly smooth, controlled flow.
If coffee shoots out suddenly and starts sputtering aggressively, your heat is probably too high. That's useful information. Lower the heat on the next brew.

Listen to the pot
Moka pots are surprisingly good at communicating. As the brew nears the end, the sound changes and you'll hear that familiar gurgling and sputtering as the lower chamber runs low.
You don't need to keep it on the heat to squeeze out every last drop. Once aggressive sputtering begins, take it off the heat.
Then pour it out
For these first few brews, we recommend discarding the coffee rather than drinking it. It might feel wasteful, but you only do it once in the life of the pot. (Another reason to save your best beans for later.)
Why Discard the First Few Brews?
Part of it is simply that a brand-new moka pot is going through its first heating and brewing cycles.
This is especially relevant for a new aluminum moka pot. Aluminum naturally develops a protective oxide layer (also called a passivation layer), and the surface keeps changing through its first uses. That's one reason we don't think the first cup from a new aluminum pot is a fair preview of what it will eventually make.
But there's another reason that's just as important: your technique is changing too.
Your first brew might be too hot.
Your second might be better, but the grind is a little too fine.
By the third, you've lowered the heat and adjusted the grind, and suddenly the coffee flows the way it should.
That's the part of breaking in a moka pot nobody talks about. Sometimes you're breaking in the pot. Sometimes the pot is breaking you in.
Brews #4–5: Start Dialling It In
By now you have a better feel for how your moka pot behaves. This is where you start paying closer attention to flavour. Go ahead and taste the fourth or fifth brew.

The golden rule: don't change three things at once. Change one thing, make another pot. You'll learn much faster that way.
Not sure what medium-fine looks like? See our Coffee Grind Chart.

Brews #6–7: Now You're Getting Somewhere
By brew five, six or seven, something usually clicks. The process feels less mysterious.
You recognize the sound.
You know roughly when the coffee will start flowing.
You know when to turn the heat down.
You can tell when the brew is finished.
You've probably found a grind that works with your coffee.
This is when moka pot brewing becomes less about following instructions and more about making coffee. Your seventh brew won't necessarily be perfect, but it's a much fairer test of your new moka pot than brew number one.

What Coffee Should You Use Once It's Broken In?
Once you're ready to brew coffee you're actually excited to drink, choose one that suits the way a moka pot brews.
Moka pots make concentrated coffee, so the character of the beans really comes through. For a smooth, rich, chocolate-forward cup, look for tasting notes like chocolate, cocoa, caramel, brown sugar and toasted nuts.
GROSCHE Smooth Silver Espresso is our best-selling coffee for moka pot brewing, and it's an easy place to start. Grind it medium-fine and adjust from there.


You don't have to use GROSCHE coffee, of course. What matters is choosing a flavour profile that matches the cup you want.
A "Seasoned" Moka Pot Can Still Be a Clean One
There's a lot of conflicting advice here, so let's clear it up. Breaking in a moka pot does not mean leaving old coffee and rancid oils inside it on purpose.
After brewing:
Let the moka pot cool.
Take it apart and remove the grounds.
Rinse the parts thoroughly.
Let everything dry completely before putting it away.
With aluminum moka pots, skip the dishwasher, harsh detergents and abrasive cleaners, which can damage the finish.
A well-conditioned moka pot and a clean moka pot aren't opposing ideas. For the full routine, read How to Clean a Moka Pot.
What If It Still Tastes Bad After 7 Brews?
Don't assume the moka pot is defective. Start with the basics:
Bitter or burnt: lower the heat and try a slightly coarser grind.
Weak: try a slightly finer grind and fresher coffee.
Barely flows: make sure you aren't tamping and the grind isn't too fine.
Leaking from the seam: let the pot cool, then check that the rim is clean, the gasket is seated properly and the chambers are threaded together correctly. Worn gasket? Grab one from our replacement parts.
If something doesn't look or behave right, stop using the pot and investigate rather than forcing another brew.
Moka pots are simple. Once you know what to look for, they're usually easy to troubleshoot. For more help, see our Top 10 Moka Pot Troubleshooting Questions.
Don't Compare Your First Brew to Espresso
This trips up a lot of new moka pot owners. A moka pot isn't an espresso machine. Both make concentrated coffee, but they brew at very different pressures and produce different results.
So don't judge your moka pot for skipping the thick crema you'd get from an espresso machine. That's not what it's designed to do. Judge it by the coffee in the cup:
Is it rich?
Is it balanced?
Does it have good body?
Most importantly, do you enjoy drinking it?
That's what matters.
The GROSCHE First-Week Moka Pot Routine
If someone asked us what to do with a brand-new moka pot, we'd keep it simple:

You don't need a complicated seasoning ritual. You need a clean pot, decent coffee, the right grind, controlled heat and a few brews to get acquainted.
Frequently Asked Questions
How many brews does it take to break in a new moka pot?
We recommend about 5–7 brews. The first 3 are practice brews you discard. Brews 4–7 are for tasting and dialling in heat and grind.
Should I throw away the first coffee from a new moka pot?
Yes. We recommend discarding the first few brews. A new pot, especially an aluminum one, is going through its first heating cycles, and your technique is still settling in.
Why does my new moka pot coffee taste metallic?
A metallic taste is common in the first few brews from a new aluminum moka pot while its surface settles in. Rinse it well before first use, discard the first few brews, and avoid harsh detergents or the dishwasher.
Do I need to season a moka pot?
Not with any special ritual. Brewing normally for your first several uses is enough. Keep the pot clean between brews; seasoning never means leaving old coffee oils inside.
Should I tamp coffee in a moka pot?
No. Fill the basket, level the grounds and leave them loose. Tamping can restrict flow and make coffee bitter.
Don't Judge Your Moka Pot by Its First Cup
If there's one thing to take away from this guide, it's this: give your moka pot a chance.
Good moka pot coffee is easy once you understand the brewer, but there's a small learning curve. That's part of what makes owning one enjoyable.
After months or years with the same pot, you won't measure every little thing or stare nervously at the stove. You'll fill it, put it on the heat and know what to expect. You'll hear when it's almost done. And you'll know when something doesn't sound quite right.
That's when a moka pot really becomes your moka pot.
Where to Go From Here
Just getting started? Read [10 Common Moka Pot Mistakes and How to Avoid Them]([URL NEEDED]). It covers the mistakes behind most first-time brewing problems.
Coffee coming out harsh? Our guide Why Is My Moka Pot Coffee Bitter? (And How to Get a Smoother, Richer Brew) will help you diagnose it.
Comfortable with the basics? Move on to [10 Moka Pot Tips to Take Your Coffee to the Next Level]([URL NEEDED]).




Leave a comment
This site is protected by hCaptcha and the hCaptcha Privacy Policy and Terms of Service apply.